Cover Letter with Style - Part Two
- Stefano
- Typesetting
- 29 Mar, 2020
This is the second part of the tutorial Cover letter with style. You can find the first part here.
Installing opentype fonts
In this second part, we will change the default fonts using fontspec. Forget importing Postscript fonts, classifying them under the NFSS (New Font Selection Scheme), and other crazy stuff: fontspec is able to load opentype fonts and select them very easily. You just have to install the fonts on your system, if not already present.
On Mac, it is trivial to install fonts. If you are using Ubuntu, you can copy the *.otf files somewhere under the /usr/share/fonts and then update the font cache with this command:
sudo fc-cache -fvThe last thing you will need is to take note of the exact name of the font family, to be able to select it. For that, after having installed the lcdf-typetools ubuntu package, you can do something like
otfinfo -i /usr/share/fonts/<<your font file>>.otf | grep FamilyFor this post, I used the opentype Cormoran font. You can find it here, under the OpenType Files directory.
Alternative approach
When you have an extensive collection of fonts, you will sometimes not wish to have them all installed in your system’s font directories. In this case, it is more convenient to load them from a different location on your disk. Once you copied the fonts in a local folder somewhere, you can then use the Path option. More information in the fontspec manual (see Font
Selection->by file name).
Updating the template
Ok, assuming you have your font installed, and you know its name, you can change the letter template (remember, standard.lco) as the following:
\ProvidesFile{standard.lco}[% 2002/07/09 v0.9a LaTeX2e unsupported letter-class-option]
\usepackage[english]{babel}
\usepackage{fontspec}
% ==============================================% PERSONAL DATA% ==============================================\setkomavar{fromname}{Ambroos Janssen}\setkomavar{fromaddress}{Van Eeghenlaan 69\\1691qt Amsterdam\\Nederland}\setkomavar{fromphone}{+31 (0)22 7394203}\setkomavar{fromemail}{a.janssen@gmail.com}\setkomavar{fromfax}{+31 (0)71 5144543}\setkomavar{fromurl}{http://www.kindoblue.nl}\setkomavar{frombank}{Postbank 9307157}\setkomavar{place}{Amsterdam}\setkomavar{signature}{Ambroos Janssen}
% ==============================================% FORMATTING STUFF% ==============================================
% === font settings\defaultfontfeatures{Mapping=tex-text}\setmainfont {Cormorant}[]\setsansfont [Scale=MatchLowercase]{Fira Sans Book}\linespread{1.1}
\endinputAt line 6, I just imported the fontspec package. At line 29, I am instructing fontspec to add the mapping for TeX ligatures, like — (n-dash) and --- (m-dash). I set the main font, and the sans serif one, at lines 30 and 31.
Another essential thing to set up, usually, is the line spread, i.e., the interline space (see line 32)
Ok, let’s generate the pdf and take a look at the result:
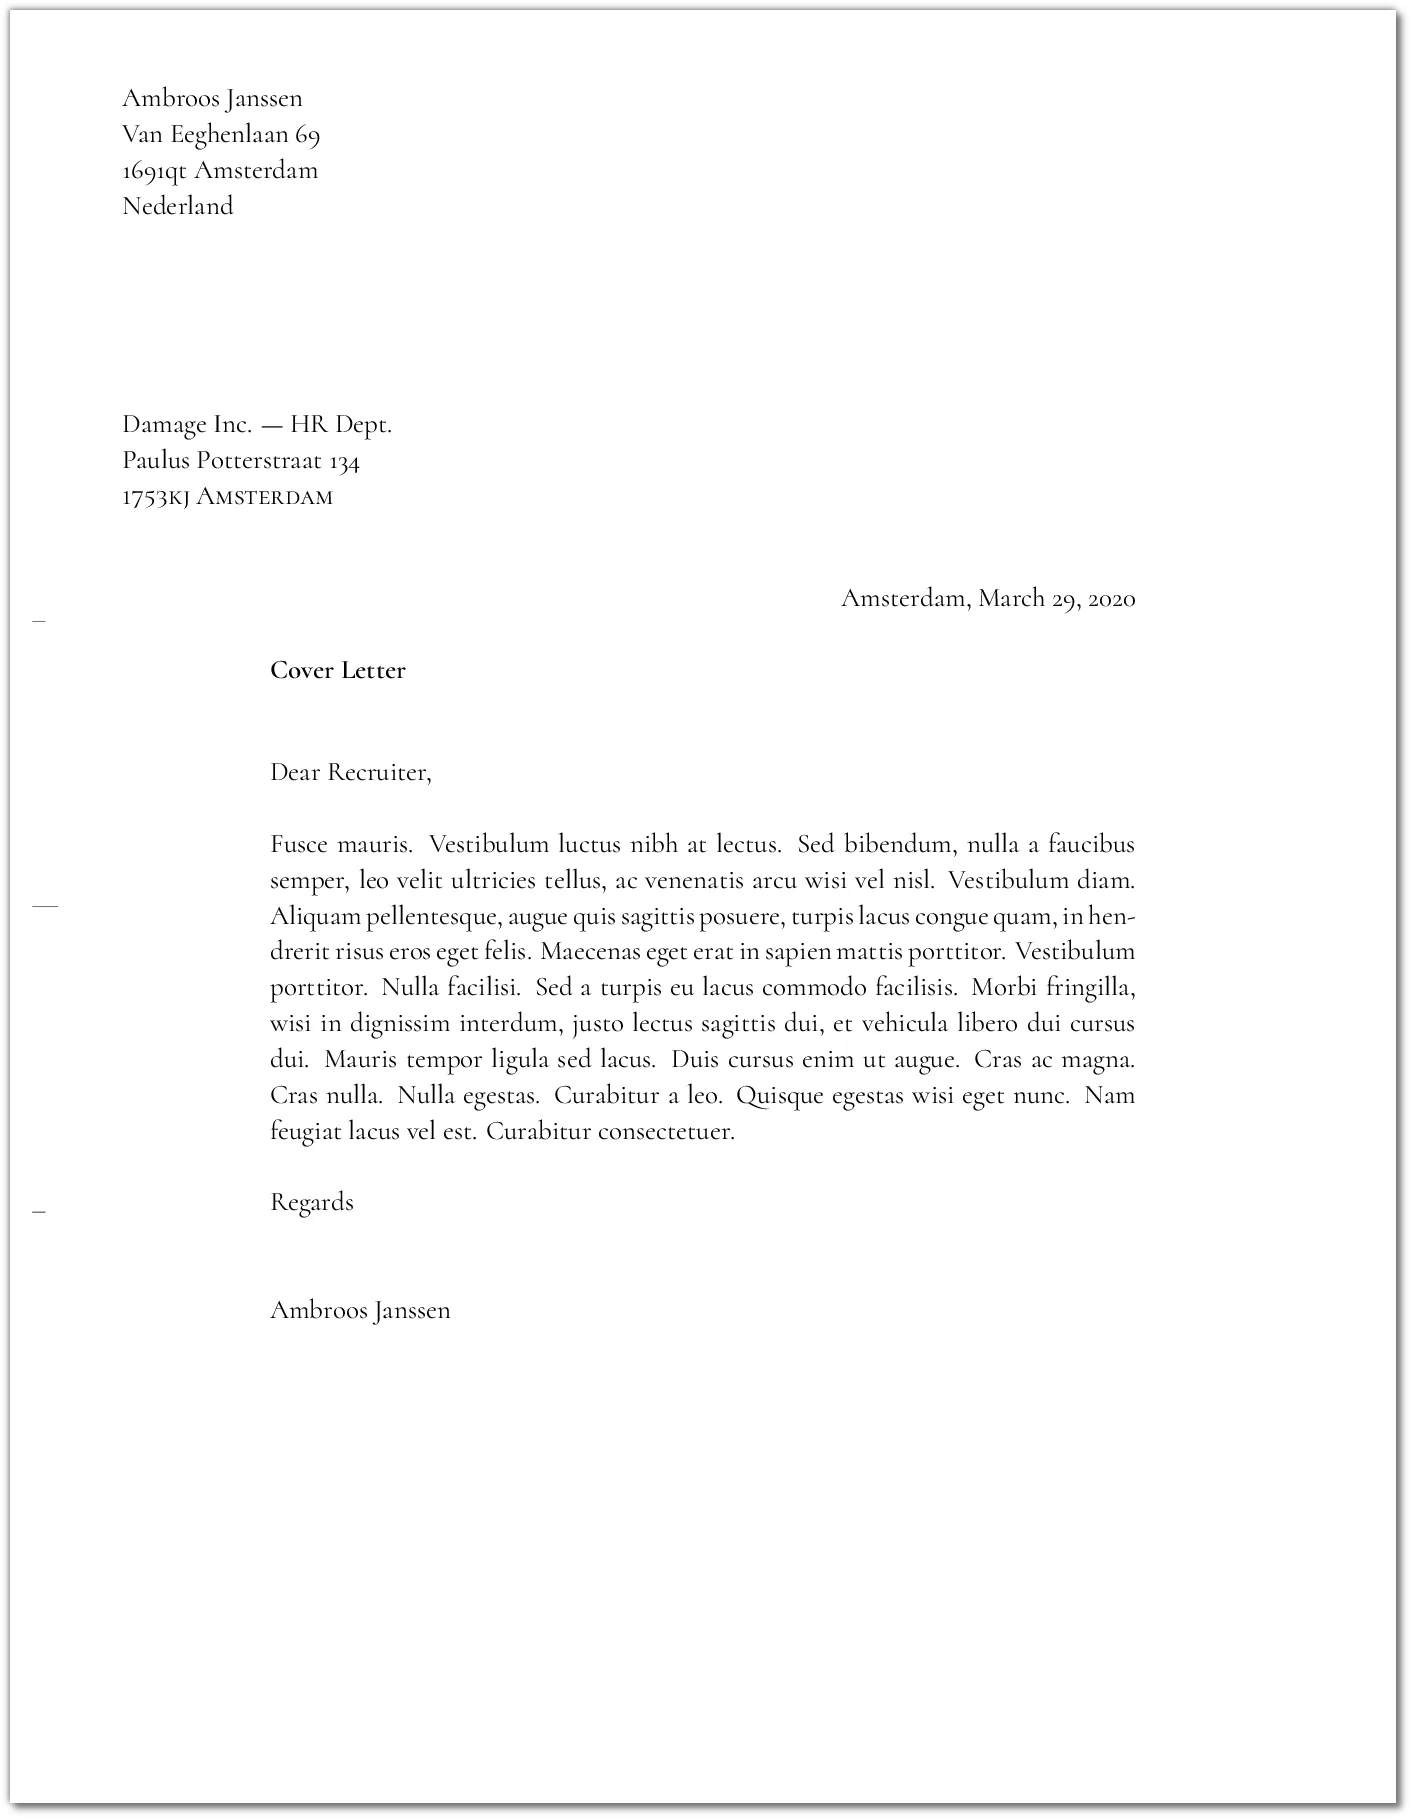
You should notice the difference from the previous versions. If not, take a look at some details like the sender’s address. On the top the original, on the bottom the Cormorant version.

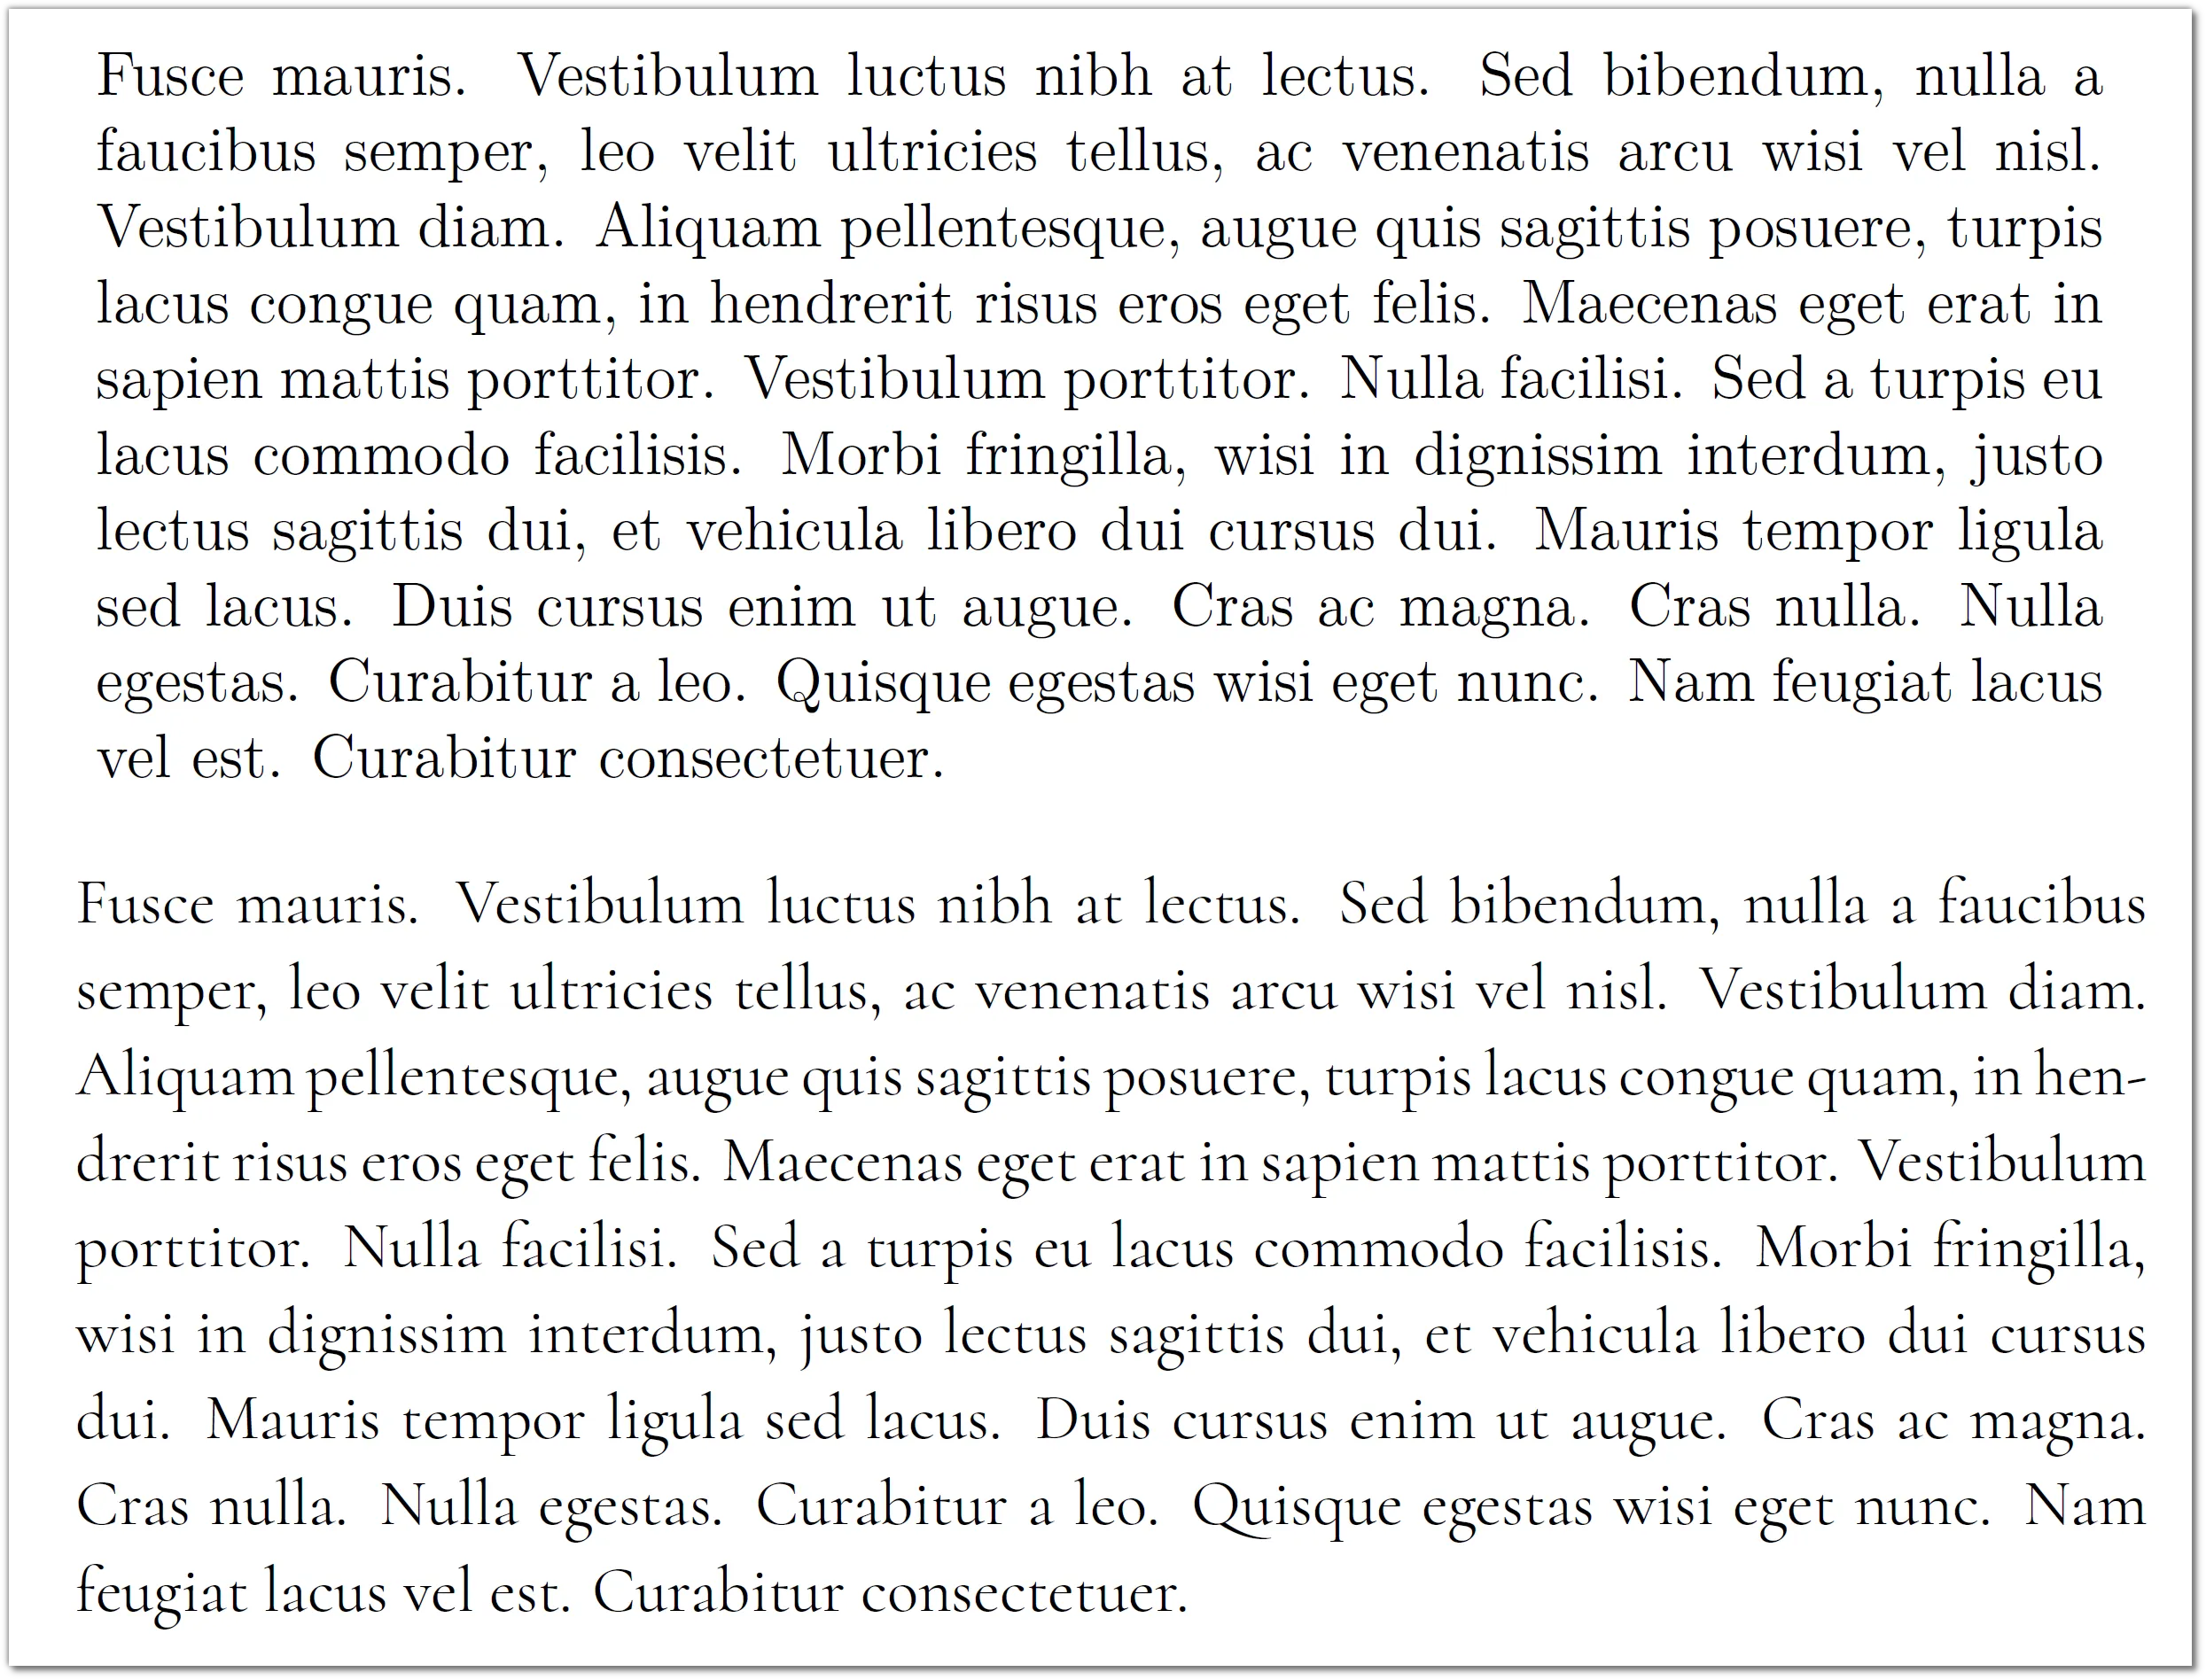
Or take a look at the letter body:
If you don’t like the font you can choose something else. Also, you can configure a lot of things with fontspec. For more information, examples, and so on, I urge you to read the fontspec documentation.
We are ready for the third part of the tutorial.